


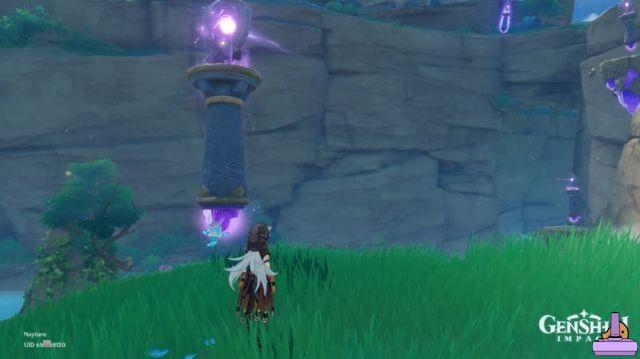
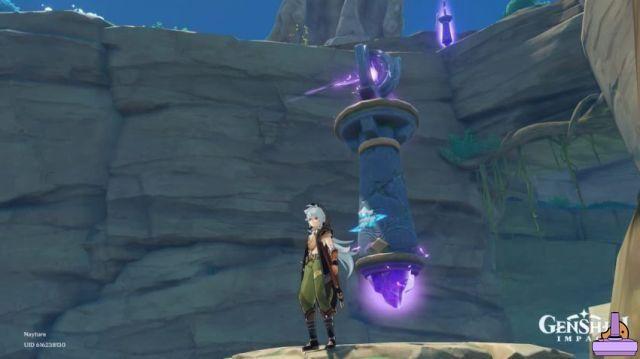
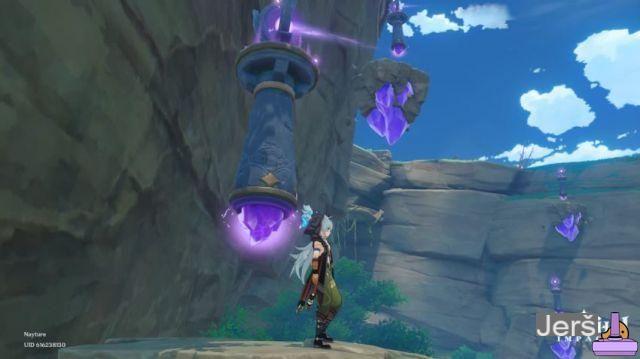
With Orobashi's Legacy Prologue and Part 1 finished, we must now move on to Part 2. This next part is very similar to Part 1, with the main difference being a change of position. This ward for part 2 is located near the serpent's head, just south of the Momiji-Dyed court domain. Once here, you must observe the ward, just like in part 1. You will find that this ward is also in ruins and will require a "Snake Head: Rock Pillar Protection Stone" and a "Snake Head: Pillar Pearl of rock".
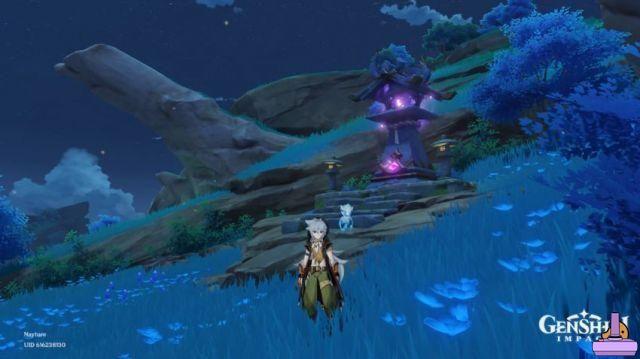
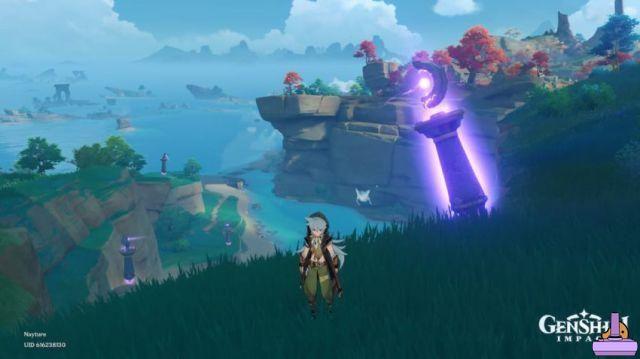
Position of the Guard Stone
The problem is that this time these two objects are hidden in different places. Therefore, we will first look for the “Serpent's Head: Rock Pillar Protection Stone”, which is not inside a sacred stone puzzle, but hides in a nearby ruin. This ruin is almost immediately to the left of the Ward location (if you are facing the Ward). It is a rectangular hole with a branch of Thunder Sakura next to it.
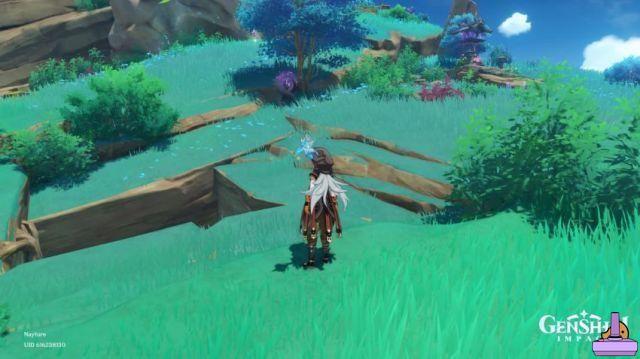
Collect an Electrograna from Thunder Sakura Bough, then slide down the hole. This Electrograna will deactivate an Electro-Barrier that would otherwise block your path. Then activate the nearby mechanism to lower the water level in the ruin.
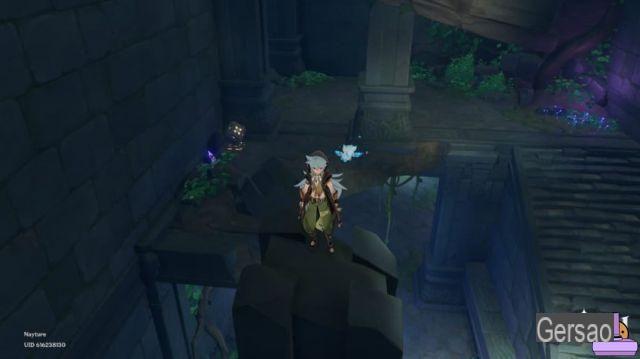
With the water level lowered, get ready to fight. You have to defeat three Ruin Destroyers, then solve the Electro Cube Puzzle (which will almost certainly be disturbed during the fight, which means you're on your own for it). This will open the hatch near the ladder, where you need to go next.
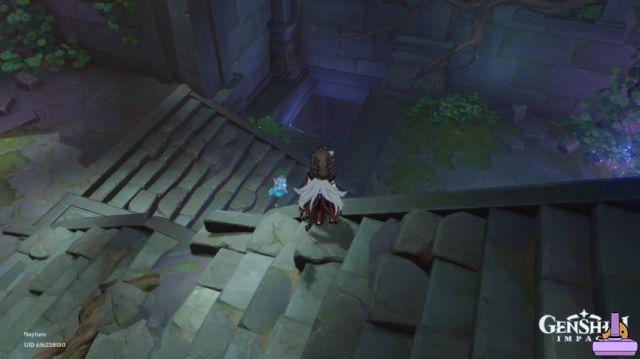
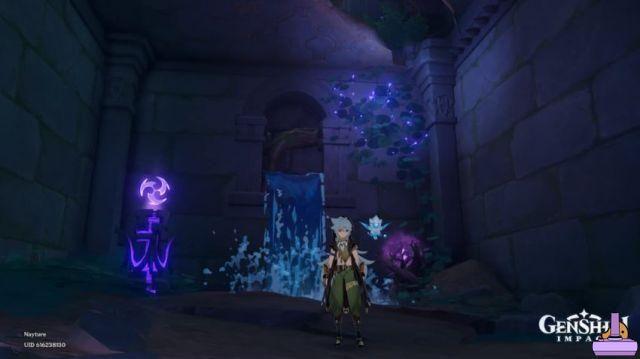
Once down the hatch, defeat the Hydro Slimes that appear and then claim your prize (the "Serpent Head: Rock Pillar Protective Stone") at the base of the small waterfall.
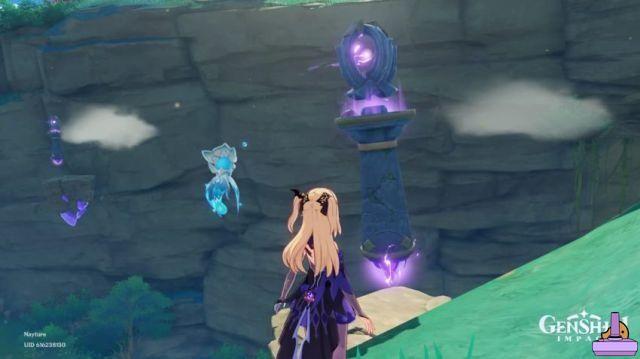
Location of the pearl
Now we can go get "Serpent's Head: Rock Pillar Pearl". It is located in the middle of the triangular body of water directly west of the Ward. Once there, find the Sacred Stone Mound at the top of the hill and point it west, and have it tilted halfway up.
Now, go to the Thunderbearer Mirror you hit and rotate it so that it faces north at medium elevation. This will cause it to shoot through the water to the Thunderbearer Mirror shown below.
Now climb / slide / use the Thunder Balls to reach the Mirror you just hit, rotate it so it faces west and be level with the horizon. This will guide the Electro shot through the water again to the higher of the two Thunderbearer mirrors facing the waterfall.
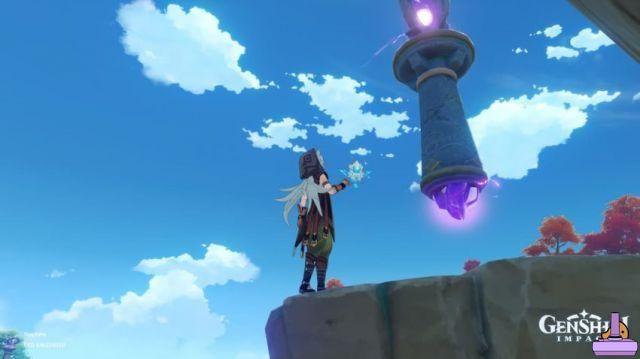
Once here, aim the Thunderbearer Mirror further up, down and east to aim at the mirror directly below it.

Then slide to the lower mirror and rotate it so that it faces south-east and at medium elevation. This will cause the shot to be redirected to the lower mirror closest to Viney's ledge.
Then go to the Thunderbearer Mirror near the ledge and turn it north and at the horizon so that it shoots across the water at the only mirror we haven't interacted with yet.
Now, finally, we can rotate this latter mirror so that it faces west and is at medium elevation. This should cause it to aim for the barrier in the center of the puzzle, marking the end of our mirror rotations for now.
Finally, hit the Sacred Stone Mound and watch the cutscene with the Electro shot bouncing and hitting the barrier, releasing the pearl. Go and claim the pearl and deliver the two items you acquired to the Ward, thus completing Orobashi's Legacy Part 2.

![[Obiettivi-Xbox360] Naruto Shippuden: Ultimate Ninja Storm 2](/images/posts/ac197317d94c238213c73b540d4aef84-0.jpg)


![[Achievements-Xbox360] Rayman 3: Hoodlum Havoc HD](/images/posts/53bc684fd5922e8e861eba3e6613c1c8-0.jpg)

![[Trophy PS3] Joe Danger - Sonic CD](/images/posts/9569086c65ca342054f80aaaa391df08-0.jpg)
![[Achievements-Xbox360] Syndicate](/images/posts/74f9e1ef1a17ede0a479f6a97b666fe0-0.jpg)
![[Trophies-PS3] Green Lantern: Rise of the Manhunters](/images/posts/0abd53078dc364a28556f8337c464ace-0.jpg)